4 Comments

Chimichurri Rack of Lamb

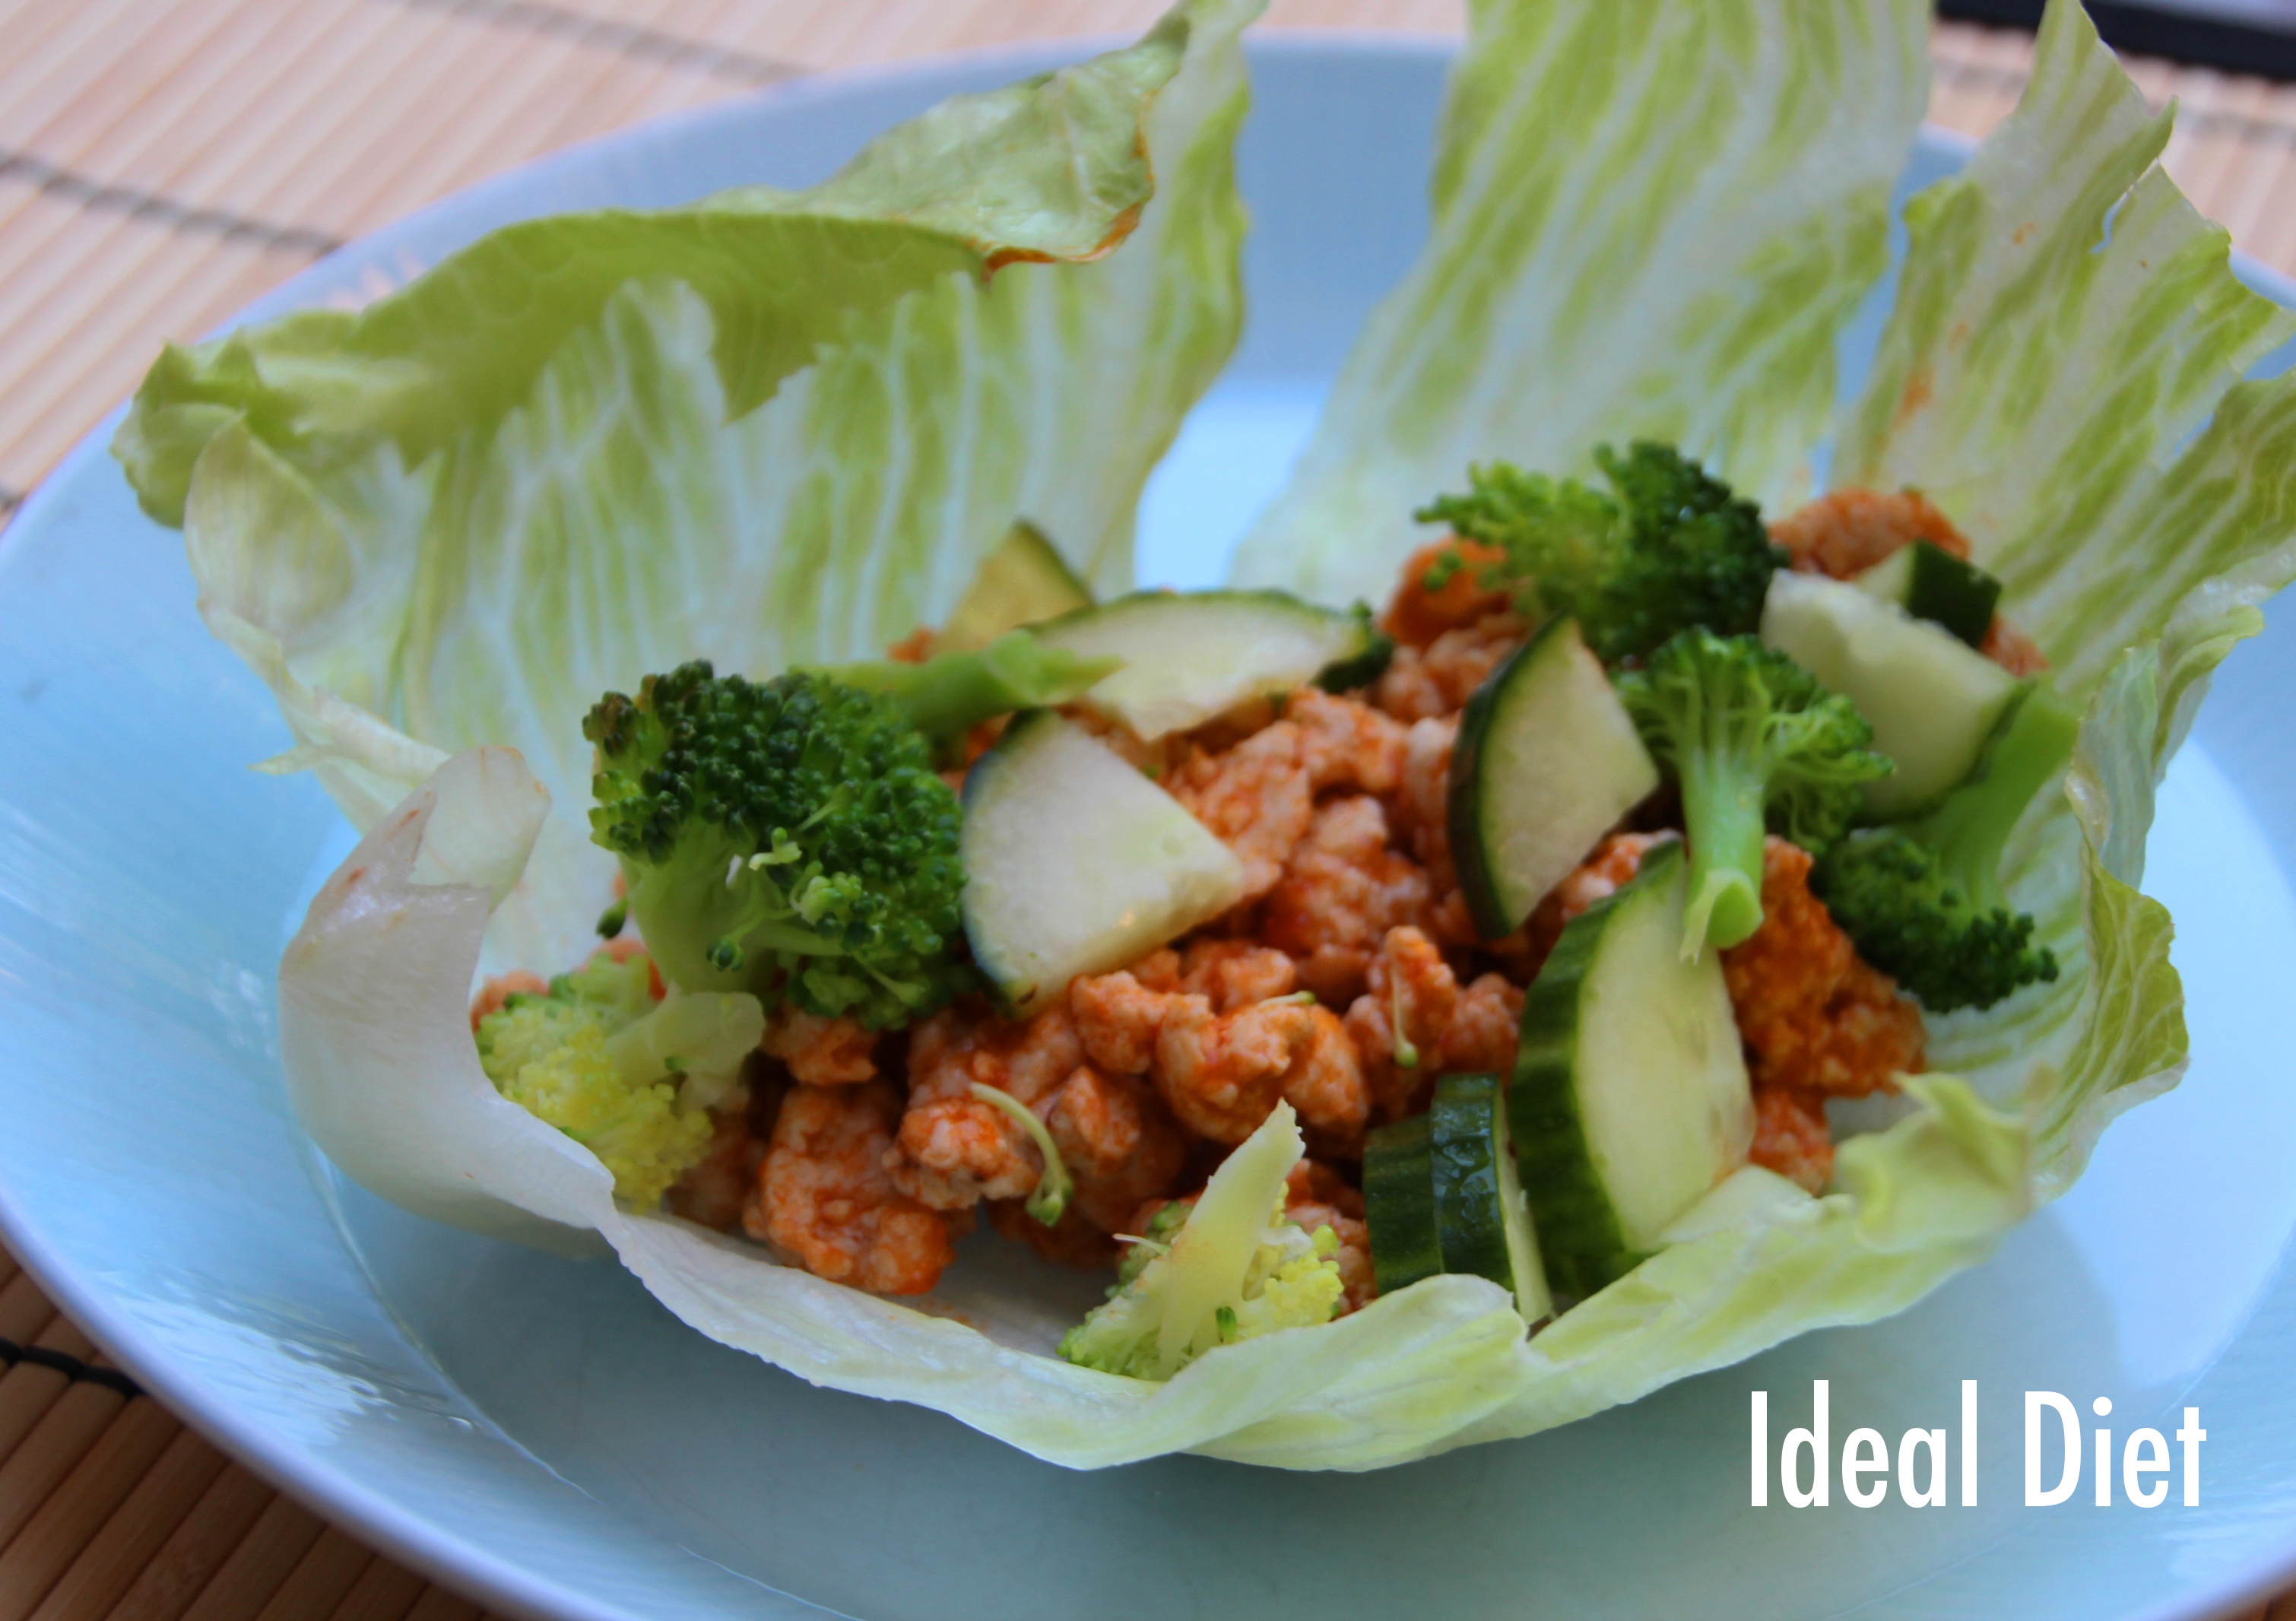
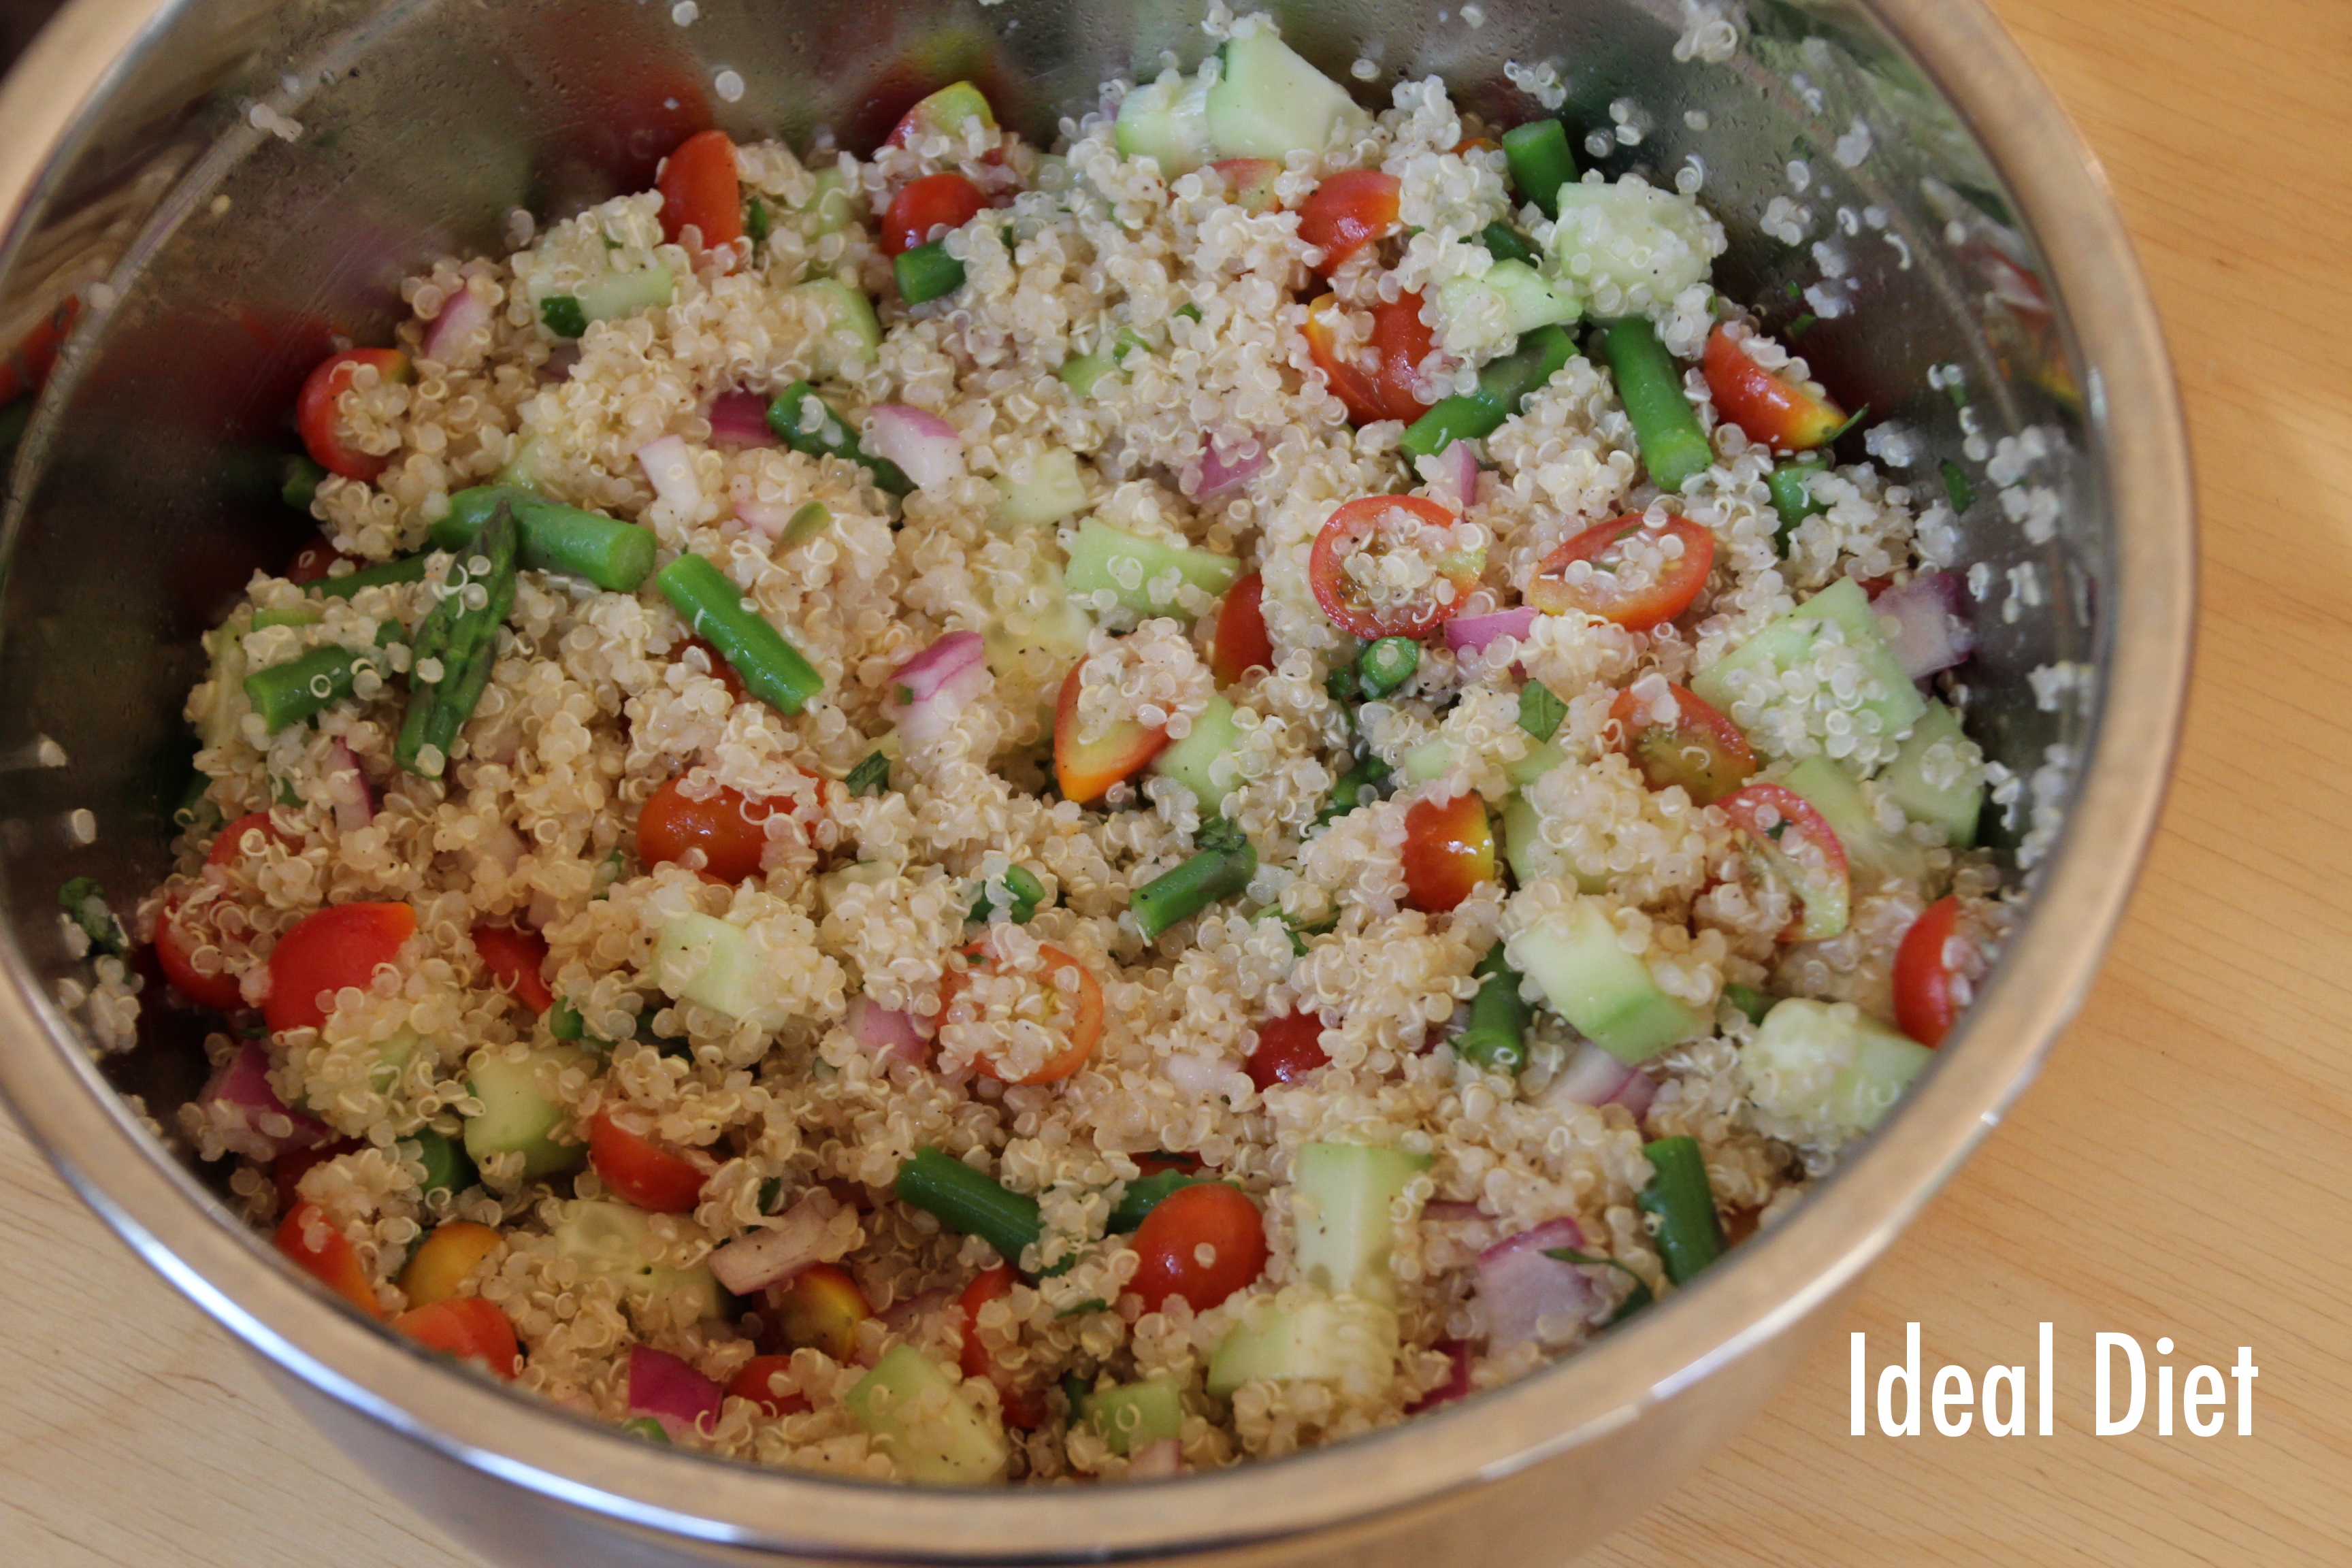
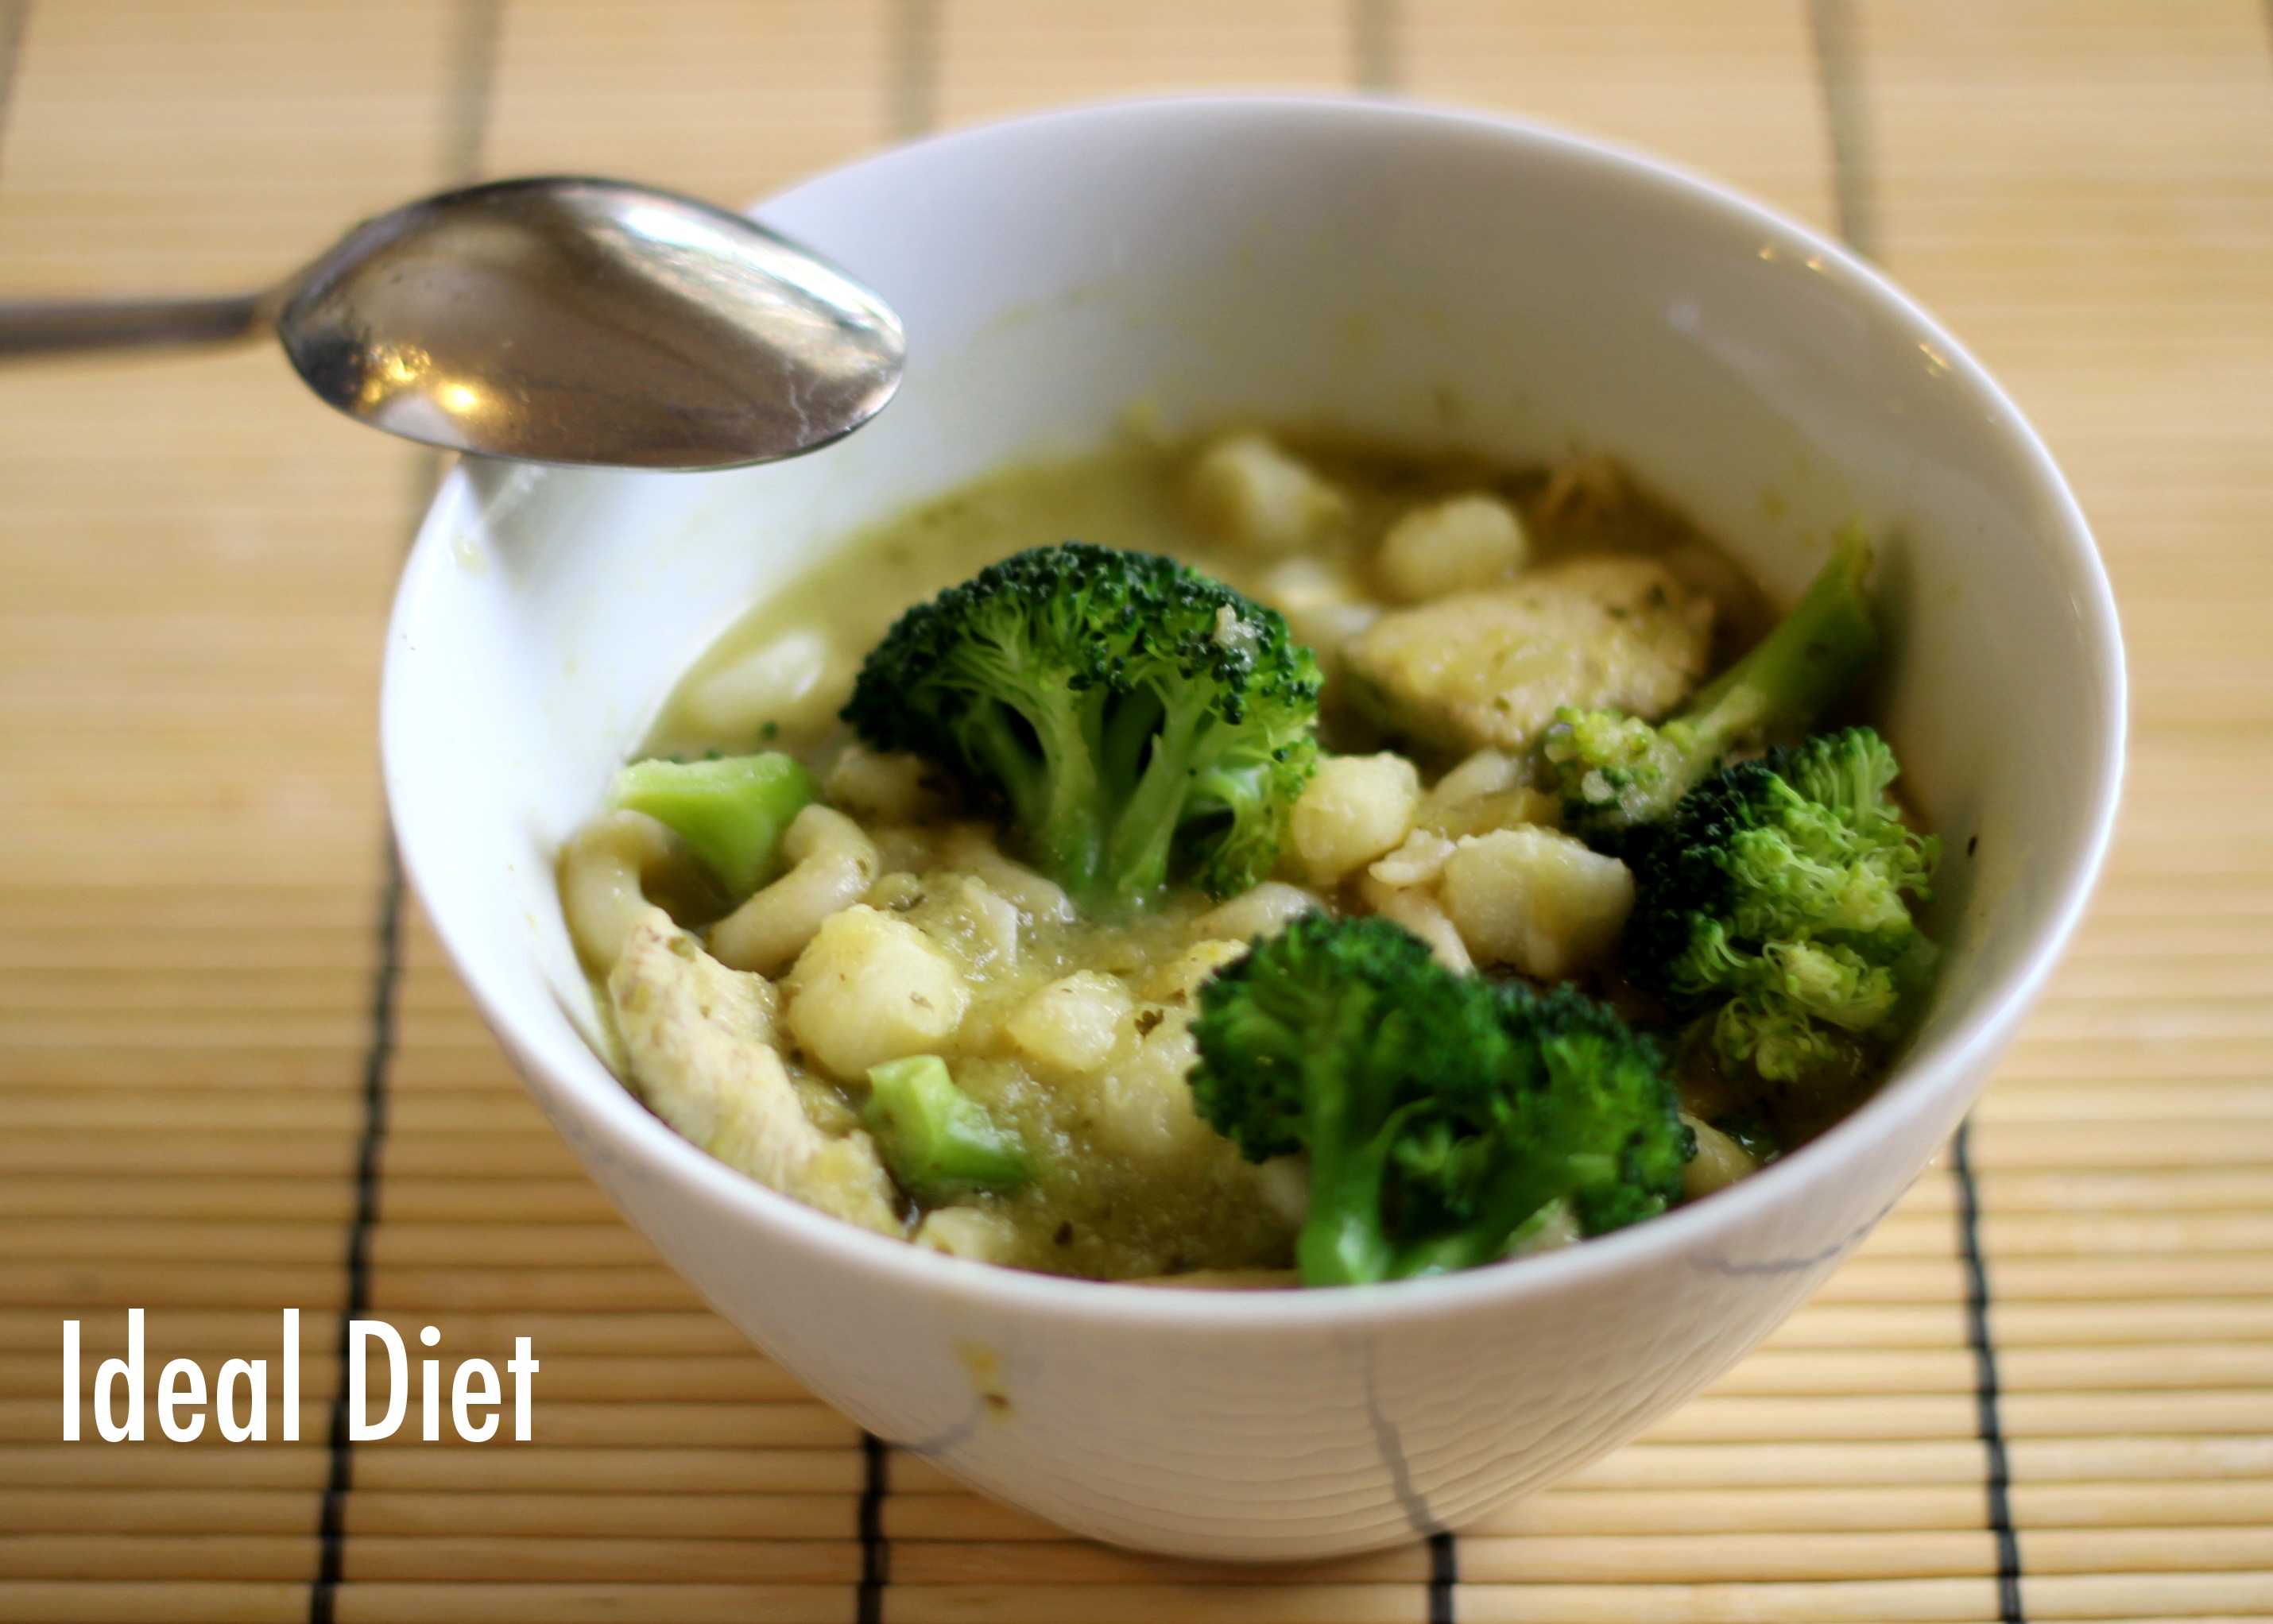
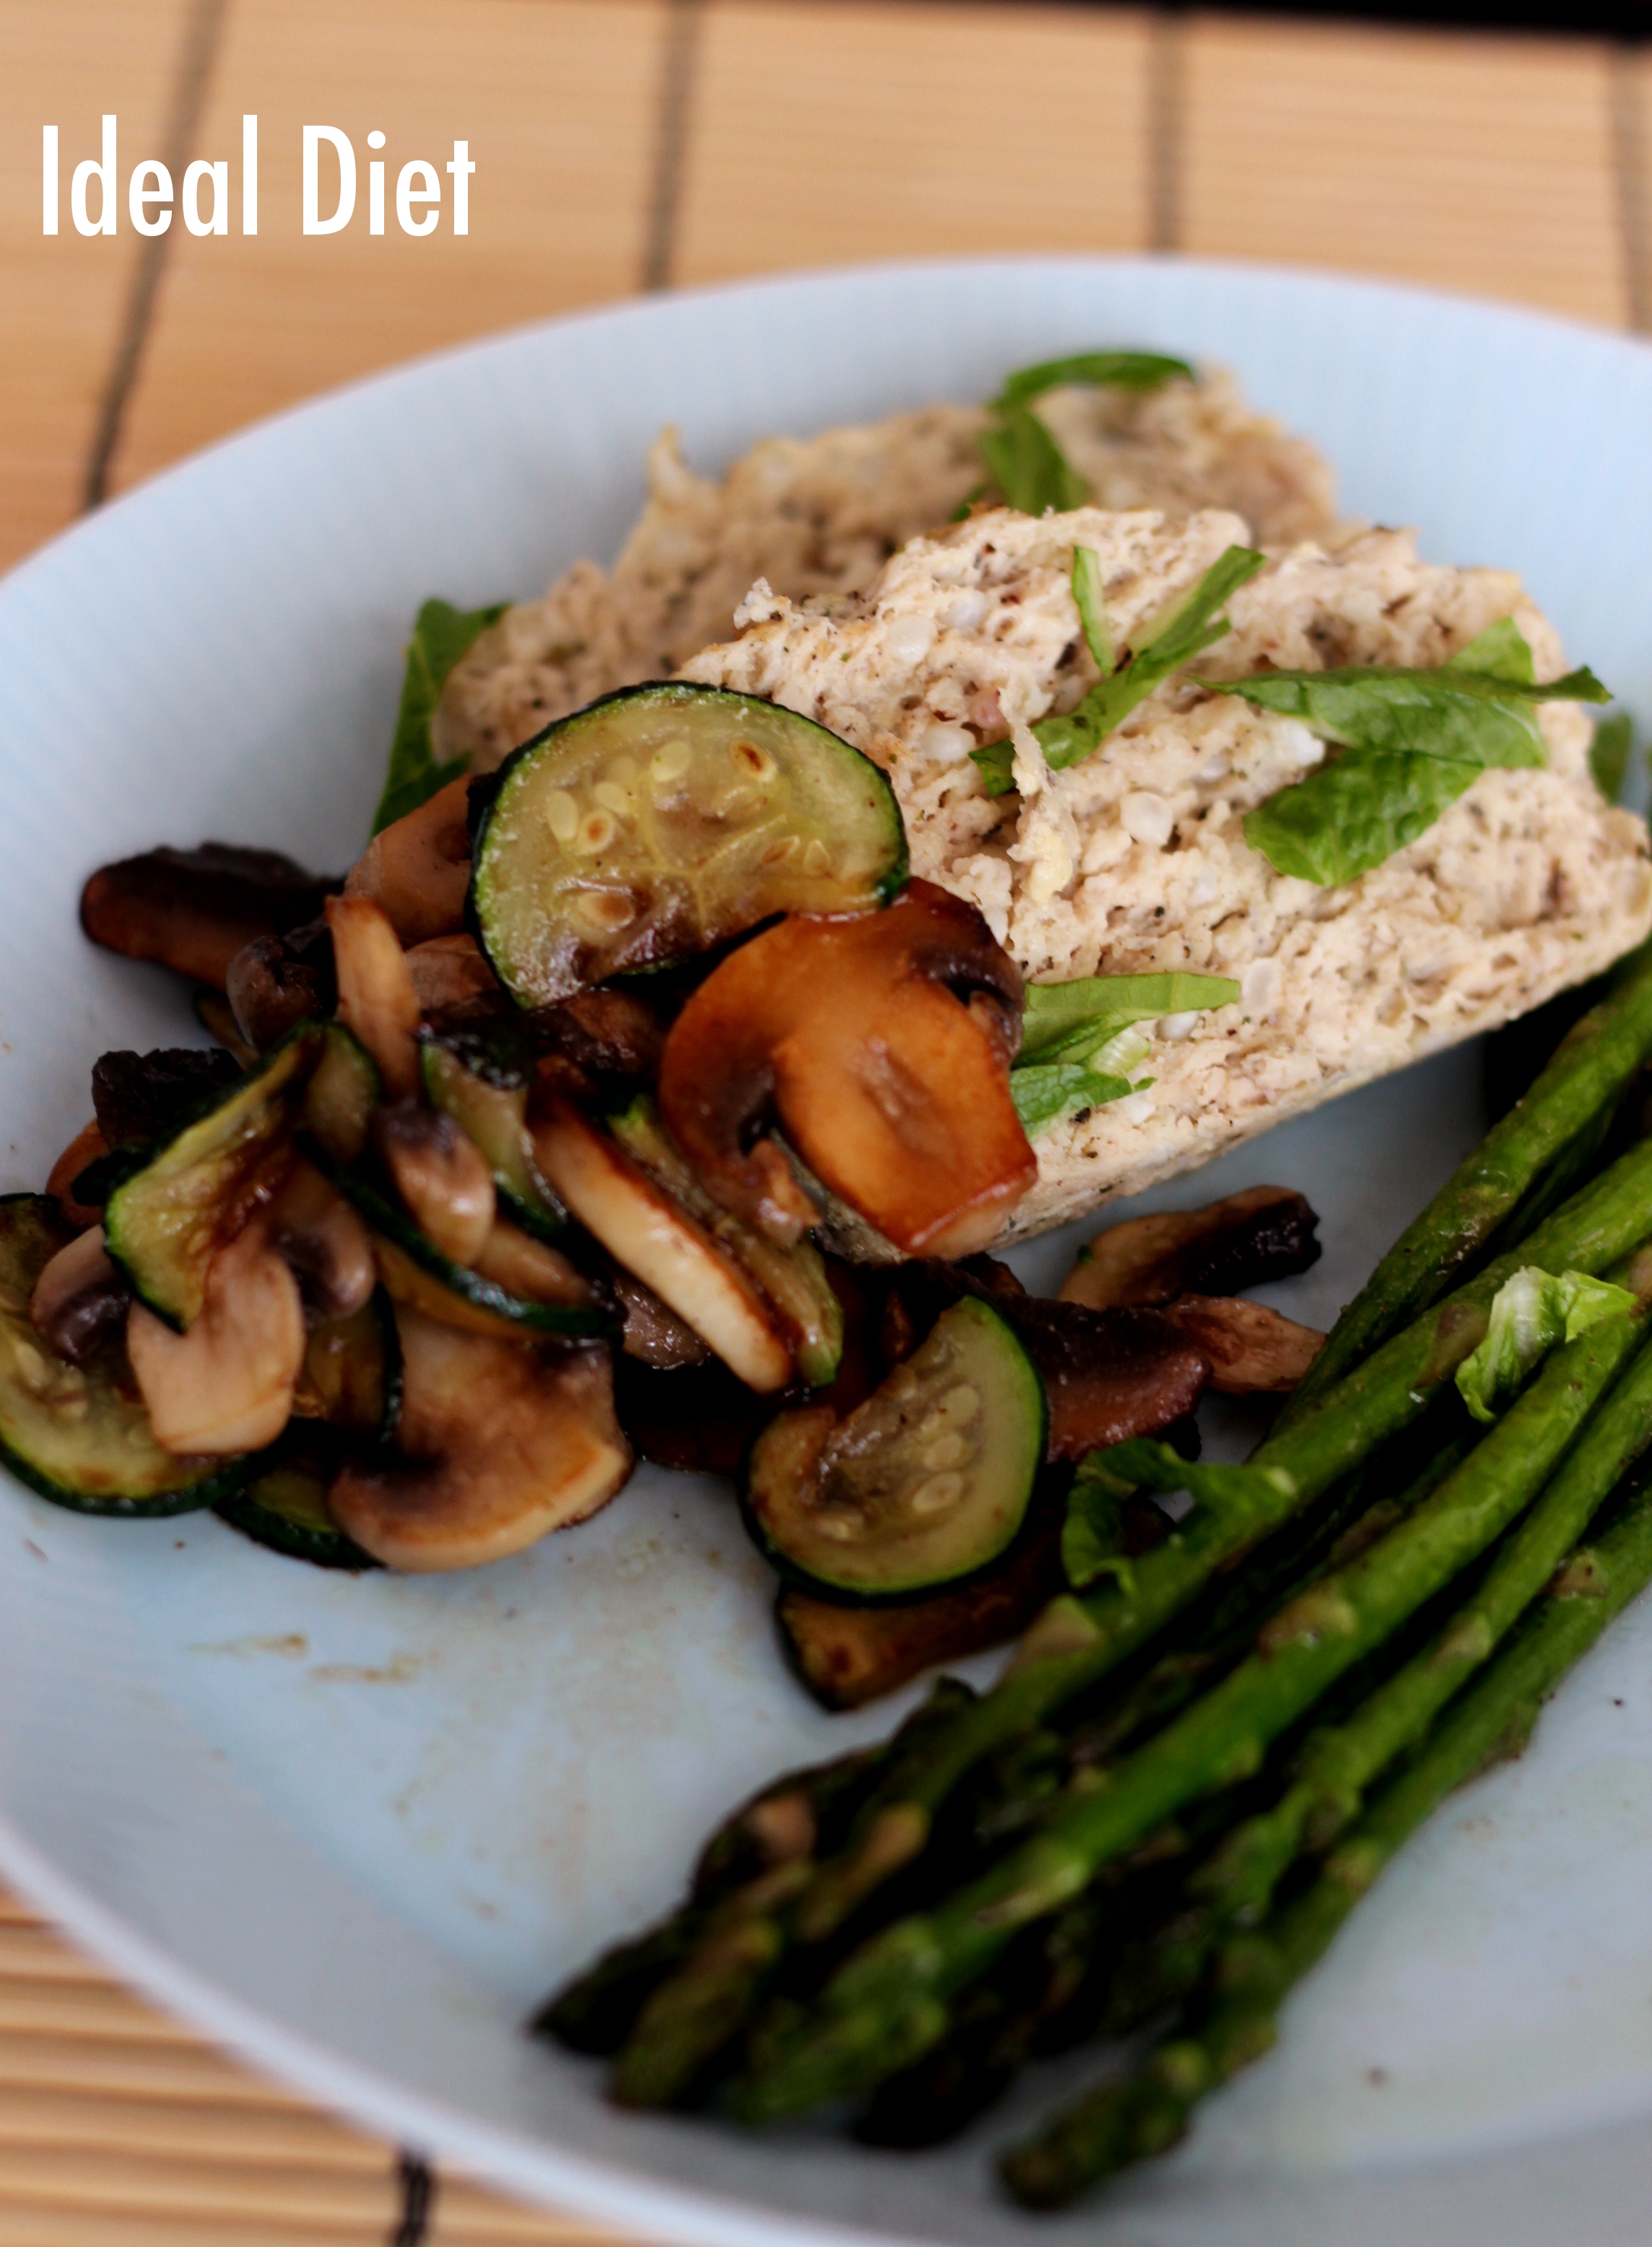
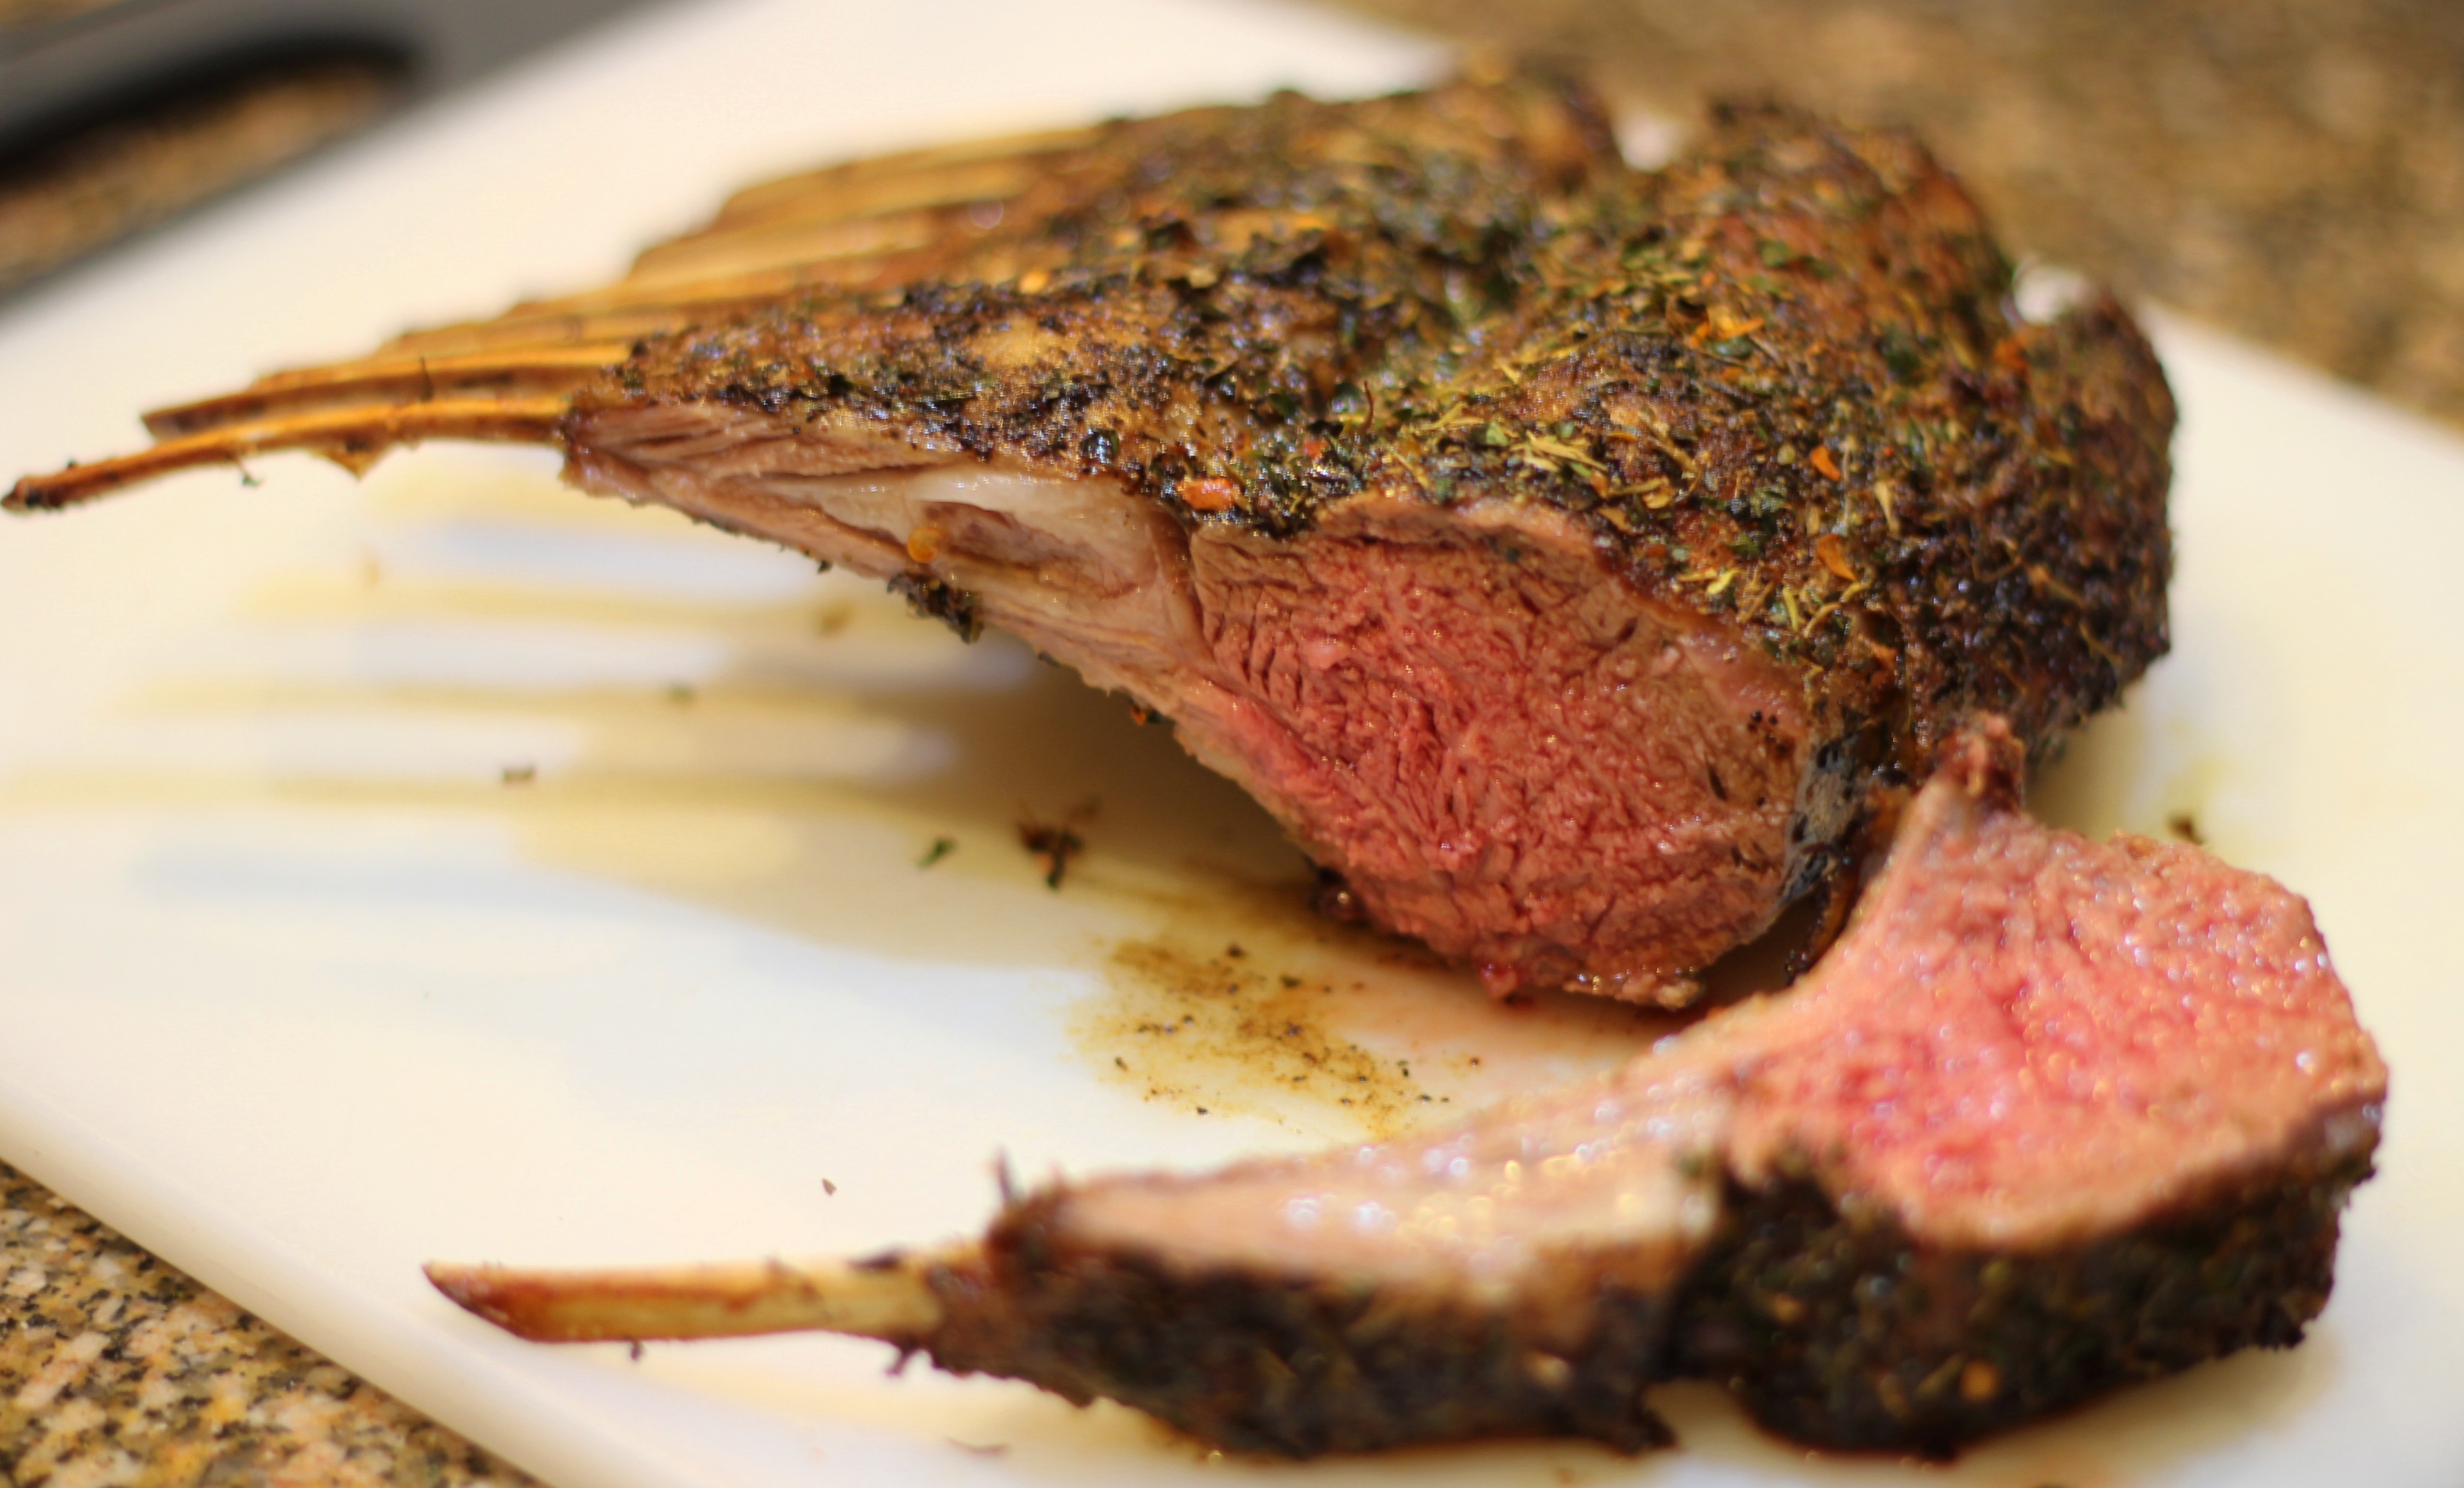
I mentioned in my last post that I have started to take the easy way out when it comes to my cooking.  But taking the easy way out doesn’t have to mean bland and boring.  I never thought I was capable of making something as extravagant as rack of lamb at home.  I mean, that’s reserved for fancy restaurants, right?  But I found a way!  All you need to do is follow a few simple directions, and you can make a gourmet-style, delicious meal.  Lamb is not allowed on Phases 1, 2, or 3, so it makes a great phase 4 dinner.

Chimichurri Rack of Lamb

Rack of Lamb

Difficulty: Easy

Ideal Protein: Phase 4

Servings: 2

Ingredients:

Directions:

  1. Preheat oven to 450 degrees.
  2. Lightly sprinkle the lamb with Chimichurri Spice Blend.
  3. Heat oil in a skillet over high heat.
  4. Place lamb rack in the skillet and cook just until brown, about 3 minutes per side.
  5. Transfer the lamb rack to a baking sheet.  Re-season the entire lamb rack with Chimichurri Spice Blend.
  6. Bake for 15 minutes for medium-rare. Allow lamb to sit for 10 minutes before carving into chops to serve.
Enjoy!

If you’d like to receive more healthy recipes directly to your inbox, subscribe to Ideal Diet for free.  And if you try any recipes and find ways to make them better, please share your comments with us.

11 Comments

The Game Changer

I’m a bit embarrassed to admit it, but I am sort of in a creative food funk.  I guess I got lazy.  Here’s why…

When I started this blog, I often asked my clients if they made any of the recipes I posted.  Very few people made them.  Most people didn’t have time.  After a long day of work, traffic, tending to the kids, etc. the last thing anyone wanted to do was cook!  Even though the recipes I share are easy, it was still hard for people to take the time to make them.  l also discovered that people get bored eating plain food (duh!) and that many people don’t know how to make healthy food taste great.

These are huge barriers to success on any healthy eating plan.

So I decided to find a solution.  Around the same time, an elementary school classmate of mine approached me to create a line of dry rubs for his website.  We hadn’t seen each other in almost 30 years, and the timing was perfect!

I introduce to you the game changer: aloha rubs.Aloha Group Pic4

And you can blame them for why my recipes have slowed down.  After months of testing and modifying the spice blends to come out just right, I still eat these all the time.  I have very little incentive right now to make anything else because they are so good (if I do say so myself) and easy.

There are 4 different spice blends: Cajun, Chimichurri, Chile-Cocoa, and Jerk.  I hope I can help you enjoy healthy eating because I know it is possible.  Coming soon, I will share some of the ways I have used Aloha Rubs to spice up my life!  But until then,  if you try Aloha Rubs, it’s simple.  All you have to do is come home at the end of your day, season the protein of your choice, and throw it on the grill or in the oven.  It’s as simple and quick as that.

Cajun, Chimichurri, and Jerk are all Phase 1, 2, 3, and 4 appropriate.

Chile-Cocoa is for Phase 4 only. 

11 Comments

Buffalo Chicken Lettuce Wraps

Every year I personally revisit the Ideal Protein Weight Loss Protocol just to keep things in check.  Some people think I’m crazy, but having the knowledge and experience that I do, I see things differently.  The way I see it, if I gain 5-7 pounds in a year, why not take care of it when the numbers are so small?  Otherwise 3 years from now, my weight might be up 15-21 pounds.  We all know it’s much easier to do Phase 1 for 2 weeks rather than 2 months, so I just say, go for it.  Nip it in the bud.  I also revisit it because it gives me a new perspective each time I do it, and it helps me to stay in touch with some of the things my clients go through.  It continues to be an eye-opening experience every year.

This year is my 3rd annual shot at it, and I’ve experimented with recipes all week.  A lot of my recipes don’t make it onto the blog.  I only share stuff that I love.  A few days ago, I discovered that Ideal Protein- Lohja, Finland found Ideal Diet and shared it on their Facebook page.   I want to extend a giant thank you to them for the lovely compliment and for sharing this blog with their Facebook friends and followers.  They also have some fantastic recipes on their page, so go check it out when you’re done here.  I also want to extend a big welcome to the new subscribers who’ve recently joined along.  You inspired this new recipe, and I think it’s a keeper!

One of the new things I learned this time around is that lettuce wraps rock!  I’ve eaten more this week than I have in my lifetime.  (Ok, slight exaggeration, but I’ve eaten a lot.)  I thought I was being super creative with this recipe, but then I came to find out that I’m not the first to think of this.  However… this recipe is my very own.  In fact, it’s so easy, it’s almost a non-recipe.  Now that’s my idea of a great weeknight meal.

Buffalo Chicken Lettuce WrapsBuffalo Chicken Lettuce Wraps

Difficulty: Beyond Easy

Ideal Protein: Phase 1, 2, 3, 4

Servings: 2

Ingredients:

  • 1 lb lean ground chicken
  • 4 cups chopped cucumber, celery, or veggie of your choice
  • 1/4 teaspoon sea salt
  • Ground black pepper
  • 1 tablespoon Frank’s Red Hot wing sauce
  • 6 whole iceberg lettuce leaves
  • 2 teaspoons grapeseed oil

Directions:

  1. Heat grapeseed oil in a frying pan over medium high heat and add ground chicken.  Saute until cooked through, breaking into small pieces.  Season with sea salt and pepper.
  2. Drain extra liquid from pan.  Add hot sauce and mix until chicken is well-coated.
  3. Scoop chicken into lettuce cups and add veggies.  (I lightly steamed some broccoli because I didn’t have celery in the house, and well, I eat broccoli with almost everything!  It’s a good fit here.)
  4. Optional tips: if you’re in phase 1, 2, or 3 drizzle on Walden Farms Ranch or Blue Cheese dressing.  A nice Phase 4 lunch would be to add some blue cheese crumbles.

Enjoy!

 If you’d like to receive more healthy recipes directly to your inbox, subscribe to Ideal Diet for free.  And if you try any recipes and find ways to make them better, please share your comments with us.

Recipe adapted from the bad attempt at making Asian style lettuce wraps the night before that turned out too dry and bland.

2 Comments

Fresh Quinoa Salad

This salad makes a great, light addition to your meal.  You can either have it on the side, or add your protein to it.

Just a little tip about quinoa before I get into this delicious recipe: if it makes you gassy, rinse it for a few minutes before you cook it.  The grains are too small to rinse in any of the colanders I have, so I just soak it in a pot of water and drain it using the lid.  It’s kind of a pain, but it’s works, and it is well worth it!

Fresh Quinoa SaladQuinoa

Difficulty: Easy

Ideal Protein: Phase 4

Servings: 6-8

Ingredients:

  • 12 cups water
  • 1 1/2 cups quinoa, rinsed
  • 1 regular cucumber or 5 pickling cucumbers, peeled, ends trimmed, and cut into 1/4-inch cubes
  • 2 cups asparagus, steamed and chopped
  • 1 small red onion, cut into 1/4-inch cubes
  • 1 pint (2 cups) of cherry or grape tomatoes, halved
  • 1 bunch Italian parsley leaves, chopped
  • 2 bunches mint leaves, chopped
  • 1/2 cup extra-virgin olive oil
  • 1/4 cup red wine vinegar
  • 1 lemon, juiced
  • 1 1/2 teaspoons sea salt
  • 3/4 teaspoon freshly ground black pepper
  • 4 heads endive, trimmed and separated into individual spears or just add to any type of greens.

Directions:

  1. Bring the water to a boil in a large saucepan.
  2. Add the quinoa, stir once, and return to a boil. Cook uncovered, over medium heat for 12 minutes.
  3. Strain and rinse well with cold water and remove all moisture.
  4. When dry, transfer the quinoa to a large bowl. Add the cucumbers, onion, tomato, parsley, mint, olive oil, vinegar, lemon juice, salt, and pepper and toss well.
  5. Spoon onto endive spears or greens, and serve.

Adapted from this recipe.

Enjoy!

 If you’d like to receive more healthy recipes directly to your inbox, subscribe to Ideal Diet for free.  And if you try any recipes and find ways to make them better, please share your comments with us.

3 Comments

Healthy Chicken Posole

Did you ever start a project, and then realize months later that you were so caught up with life that you forgot all about it?

That happened with this recipe, and as a result I’m sharing a soup recipe just as the weather is starting to change.  Who wants to eat soup when it’s 80 degrees out?  I do.  They eat posole year-round in Mexico, right?  It certainly wouldn’t stop me either.

Before I get to the recipe, a girl needs to brag… just a little.  My Chicken Meatloaf Recipe won the Miracle Noodle Recipe contest last month!  Woohoo!  In case you missed it, check it out here.

Healthy Chicken Posole

IP Chicken Posole

Difficulty: Easy

Ideal Protein: Phase 4

Servings: 4

Ingredients:

  • 1 pound skinless, boneless chicken breasts, diced
  • 1 teaspoon dried thyme
  • Sea salt and freshly ground pepper
  • 2 tablespoons grapeseed oil
  • 1 large white onion, diced
  • 1 jalapeño pepper, chopped (remove seeds for less heat)
  • 2 cloves garlic, minced
  • 3 6-ounce cans whole green chiles, drained
  • 1 cup fresh cilantro
  • 4 cups chicken broth
  • 2 15-ounce cans hominy, drained
  • Steamed or sautéed veggies of your choice.

Directions:

  1. Season the chicken with 1/2 teaspoon thyme, and salt and pepper to taste; set aside.
  2. Heat the oil in a large saucepan over medium heat. Add the onion, jalapeño and garlic and cook until soft, about 4 minutes.
  3. Transfer to a blender, then add the chiles, cilantro and the remaining 1/2 teaspoon thyme and purée until smooth.  (Or use an immersion blender.  These are the best!)
  4. Return to the saucepan and cook over medium heat, stirring, until the sauce thickens and turns deep green, about 5 minutes.
  5. Add the broth, hominy and chicken to the saucepan. Cover and simmer until the chicken is tender, about 10 minutes.
  6. Garnish with veggies.

Adapted from this recipe.

Enjoy!

 If you’d like to receive more healthy recipes directly to your inbox, subscribe to Ideal Diet for free.  And if you try any recipes and find ways to make them better, please share your comments with us.

3 Comments

MOM! THE MEATLOAF!

You may be wondering why my title is screaming at you.  Well, whenever I think of meatloaf, I can’t help but think of Will Ferrell in Wedding Crashers.  If you aren’t familiar with this funny scene, here it is.  Warning: there are a few f-bombs in this clip.

Now we have the perfect Ideal Protein meatloaf… featuring Miracle Rice!  This might be my favorite use for the Miracle Noodle products.  I loved this.

Ideal Protein Chicken MeatloafChicken meatloaf

Difficulty: Easy

Ideal Protein: Phase 1, 2, 3, 4

Servings: 3

Ingredients:

  • 1 1/3 pound of ground chicken or turkey
  • 1 egg
  • 1/2 cup Miracle Rice
  • 1/2 tablespoon garlic powder
  • 1/2 tablespoon onion powder
  • 1 teaspoon sea salt
  • 1 teaspoon black pepper
  • 1/2 teaspoon dried marjoram
  • 1/2 teaspoon dried basil

Directions:

  1. Preheat oven to 375 degrees.
  2. Dry roast the miracle rice by sauteing in a non-stick skillet over high heat for a few minutes, until they are dry. You may hear a squeaking noise as you move them around the pan when they are ready.
  3. Spray a loaf pan lightly with grapeseed oil.
  4. Mix all ingredients including Miracle Rice and add to pan.
  5. Bake for 30 minutes.
  6. Broil on high for 5 minutes to lightly brown the top.meatloaf

Inspired by this recipe.

Enjoy!

 If you’d like to receive more healthy recipes directly to your inbox, subscribe to Ideal Diet for free.  And if you try any recipes and find ways to make them better, please share your comments with us.

8 Comments

Mmm… Pancakes!

This is by no means a recipe, but I made it last week and loved it!  I wanted to share it here as a reminder that we don’t have to deprive ourselves of everything when we’re trying to lose weight.  These must be cooked a certain way for good results, so read carefully!

Ideal Protein CrepesIP pancakes

Difficulty: Easy

Ideal Protein: Phase 1, 2, 3, 4

Servings: 1 (unless you’re crazy enough to share!)

Ingredients:

  • 1 Ideal Protein Crepe Mix
  • 3-5 oz of cold water
  • Grapeseed oil spray
  • Small Non-stick pan (I suggest using a small pan to make 2 crepes separately.  It’s too hard to manage in a big pan.)
  • Walden Farms Maple Syrup

Directions:

  1. Pour 3 to 5 fl. oz of cold water into a shaker cup, add contents of one Crepe mix, and shake vigorously until mixture is smooth.
  2. Heat a non-stick skillet over medium heat and lightly spray with oil.
  3. Pour batter into skillet and cook on each side for 2 to 5 minutes.
    No!  Don’t do that, or your pancake will mush up into a ball of dough.  Cook the first side until it is cooked through on the top side.  You know how the top of pancakes bubble and dry when they start to cook?  You want the top side almost completely dry.  You will think you are over cooking it, but you are not.  Then you can flip it and cook for 30 seconds to a minute or so on the other side.
  4. Repeat steps 1-3 with second crepe.
  5. Top with Walden Farms Syrup.

Enjoy!

 If you’d like to receive more healthy recipes directly to your inbox, subscribe to Ideal Diet for free.  And if you try any recipes and find ways to make them better, please share your comments with us.


10 Comments

Low Maintenance Kale Chips

Kale chips are everywhere these days, and for good reason.  They are healthy and taste great.  They’re so good that it’s easy to forget you are eating a vegetable while you are inhaling eating them.  About a year ago, I tried making kale chips for the first time and loved them.  While the recipe was easy, it was time-consuming.  I had to wash all of the kale leaves, dry each one, and cut out the ribs from each leaf.  I’ll admit, it was a pain, and I really had no desire to do it again… that is, until I was at the store the other day.  I saw a giant bag of pre-washed kale, and I had the brilliant idea to try the kale chips again.  (Oddly, this is what an impulse buy looks like for me.)  This time I was sure it was going to be less maintenance, and I can now say I will make these again and again.  These are awesome, and if you struggle eating all of your veggies, it’s a great way to get them in.

Low Maintenance Kale ChipsKale Chips1

Difficulty: Easy

Ideal Protein: Phase 1, 2, 3, 4

Servings: 2

Ingredients:

  • 4 cups kale
  • olive oil spray
  • sea salt

Directions:

  1. Preheat oven to 275 degrees.
  2. Take kale from bag and place in a single layer on a baking sheet.
  3. Spray lightly with olive oil and add sea salt to taste.
  4. Bake for 20 minutes or until crisp but not charred.IMG_7480

Enjoy!

 If you’d like to receive more healthy recipes directly to your inbox, subscribe to Ideal Diet for free.  And if you try any recipes and find ways to make them better, please share your comments with us.

3 Comments

Roasted Kabocha Squash Soup

Did you know that most roasted squash soups have cream in them?  If you ask me, that’s a total waste of fat and calories.  I’m about to share with you a fabulous soup that doesn’t need the cream.  I would bet anyone who tries this won’t miss the dairy one bit.  Squash is creamy enough on its own that it just doesn’t need it.  My brother-in-law (who is a very talented chef) shared this recipe with me years ago, and it has become a family favorite.  I usually use Kabocha squash, but butternut squash works just as well.

Roasted Kabocha Squash SoupSquash soup

Difficulty: Medium (it’s actually very easy, but prepare for a longer cooking time than most of my recipes.  It will be worth it!)

Ideal Protein: Phase 4

Servings: 6

Ingredients:

  • 1 medium Kabocha or Butternut Squash
  • 1 medium yellow onion
  • 1 1/2 tablespoon of olive oil
  • sea salt
  • ground white pepper
  • 6 cups of chicken or vegetable broth
  • 1 tablespoon sherry wine vinegar
  • crushed red pepper

Directions:

  1. Preheat oven to 350 degrees.
  2. Cut squash in half and remove seeds.  Place cut side up on cookie sheet.  Drizzle with olive oil and season with 1/2 teaspoon sea salt and 1/4 teaspoon white pepper.

    I used both Kabocha and Butternut in this soup I made last Thanksgiving.

    I used both Kabocha and Butternut in this soup I made last Thanksgiving.

  3. Cover with tin foil and bake for 1 hour or until tender.
  4. When squash is almost done cooking, chop onion.  In a large soup pot saute onion in 1 tablespoon olive oil  for 10 minutes or until onion becomes translucent.
  5. When squash is well cooked, remove from oven and let cool.
  6. Scrape squash into pot with cooked onions and add 4 cups of chicken/vegetable broth so squash is covered.
  7. Bring to a boil and simmer for 20 minutes.
  8. Use an immersion blender to blend smooth.  If you don’t have an immersion blender, transfer to a blender.
  9. If too thick, add more broth until it reaches desired consistency.  (It shouldn’t be too thick, but should coat the back of a spoon.)  Swirl in 1 tablespoon of sherry wine vinegar and add salt and white pepper to taste.
  10. Garnish with crushed red pepper flakes if you want a little extra kick.

Enjoy!

 If you’d like to receive more healthy recipes directly to your inbox, subscribe to Ideal Diet for free.  And if you try any recipes and find ways to make them better, please share your comments with us.

3 Comments

Chicken and Vegetable Stir-Fry

If you want to duplicate that silky sauce found in Chinese restaurants, corn starch is the key.  But what if you can’t eat corn starch?  If you’re on Ideal Protein Phases 1, 2, and 3, you can’t.  But I have found a great alternative.  It’s called Konjac Glucomannan Powder and is sold by the awesome folks at Miracle Noodle.  It’s “water-soluble dietary fiber derived from the root of the konjac plant.”  The bag appears pricey at first glance, but this stuff actually goes a long way.  It thickens sauce just like corn starch, but be careful: if you use too much, it will turn to gel.  If you choose to skip the powder, you’ll still get a great tasting stir-fry.

Chicken and Vegetable Stir-Fry

IMG_7258

Difficulty: Easy

Ideal Protein: Phase 1, 2, 3, 4

Servings: 2

Ingredients: 

  • 12 oz skinless, boneless chicken breast, sliced
  • 4 cups of select veggies of your choice (I used broccoli, mushrooms, and snow peas)
  • 3 cloves garlic, minced
  • 1 1-inch piece peeled fresh ginger, minced
  • 1 tablespoon soy sauce or gluten-free Tamari
  • 1 teaspoon Stevia
  • 1/8 teaspoon Konjac powder (optional)
  • 1 1/4 teaspoons kosher salt and freshly ground black pepper
  • 4 teaspoons dark sesame oil (or Grapeseed oil)
  • 1/3 cup chicken broth or water
  • 1 pack Miracle Noodles

Directions:

  1. Toss the chicken with half the garlic and ginger, the soy sauce, Stevia, half of the Konjac Powder, 1 teaspoon of the salt, and 2 teaspoons of the sesame oil in a bowl. Marinate at room temperature for 15 minutes.
  2. Mix the remaining Konjac Powder with the 1/3 cup of broth or water.
  3. Heat a large nonstick skillet over high heat. Add 1 teaspoon of the oil and heat.  Add the veggies and cook for 1 minutes.
  4. Add the remaining garlic, ginger, 2 tablespoons of water, and season with 1/4 teaspoon salt, and pepper, to taste.
  5. Stir-fry until the vegetables are bright green but still crisp, about 2 minutes. Transfer to a plate.
  6. Re-heat the skillet, and add the chicken and stir-fry until the chicken loses its raw color and gets a little brown, 3 to 4 minutes.
  7. Return the vegetables to the pan and toss to heat through. Stir in the reserved cornstarch mixture and bring to a boil to thicken. Add more water if need to thin the sauce, if necessary. Taste and season with salt and pepper, if you like.  Serve with Miracle Noodles.

Adapted from this recipe.

Enjoy!

 If you’d like to receive more healthy recipes directly to your inbox, feel free to subscribe to my blog.  And if you try any recipes and find ways to make them better, please share your tips here.